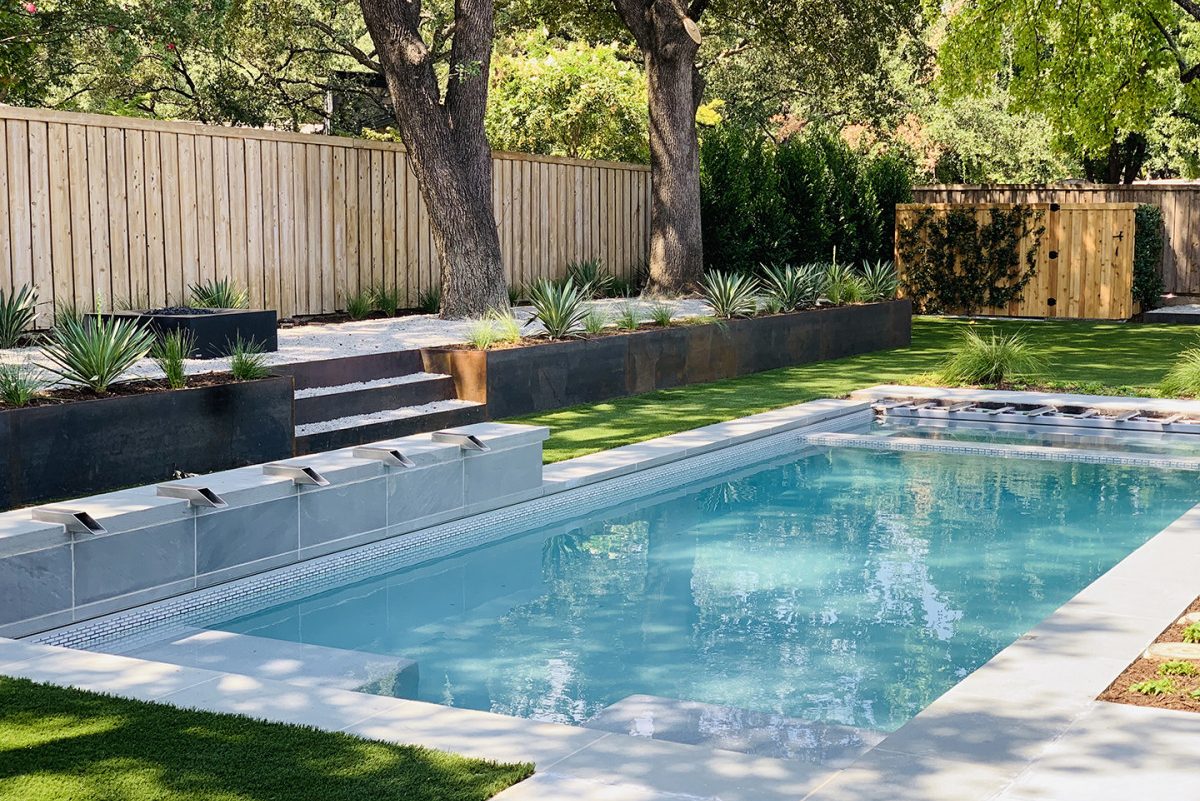
Take the Plunge: A Guide to the Pool Design + Build Process
As summer draws nearer, does the idea of suffering through another sweltering Texas heatwave fill you with dread? Does the thought of sharing the crowded country club pool make you cringe? If so, now is the perfect time to design your backyard oasis. Imagine stepping out onto your patio and taking a refreshing swim in your new lap pool or floating effortlessly in your infinity pool. If we’ve piqued your curiosity, here’s a handy guide to our custom pool design and build process from start to finish.
1. Make Your Pool Design Wish List
Do you desire a soothing water feature to wash away your worries? Does a steamy spa sound like the perfect remedy to soothe your sore muscles? Would your kids benefit from an outdoor play space? What functional pool design and backyard elements are most important to your family’s lifestyle? Also consider any other amenities you’d like to incorporate into your dream space such as:
- Automated cleaning system for reduced maintenance and enhanced water purification
- Cooling & heating systems to extend the swimming season
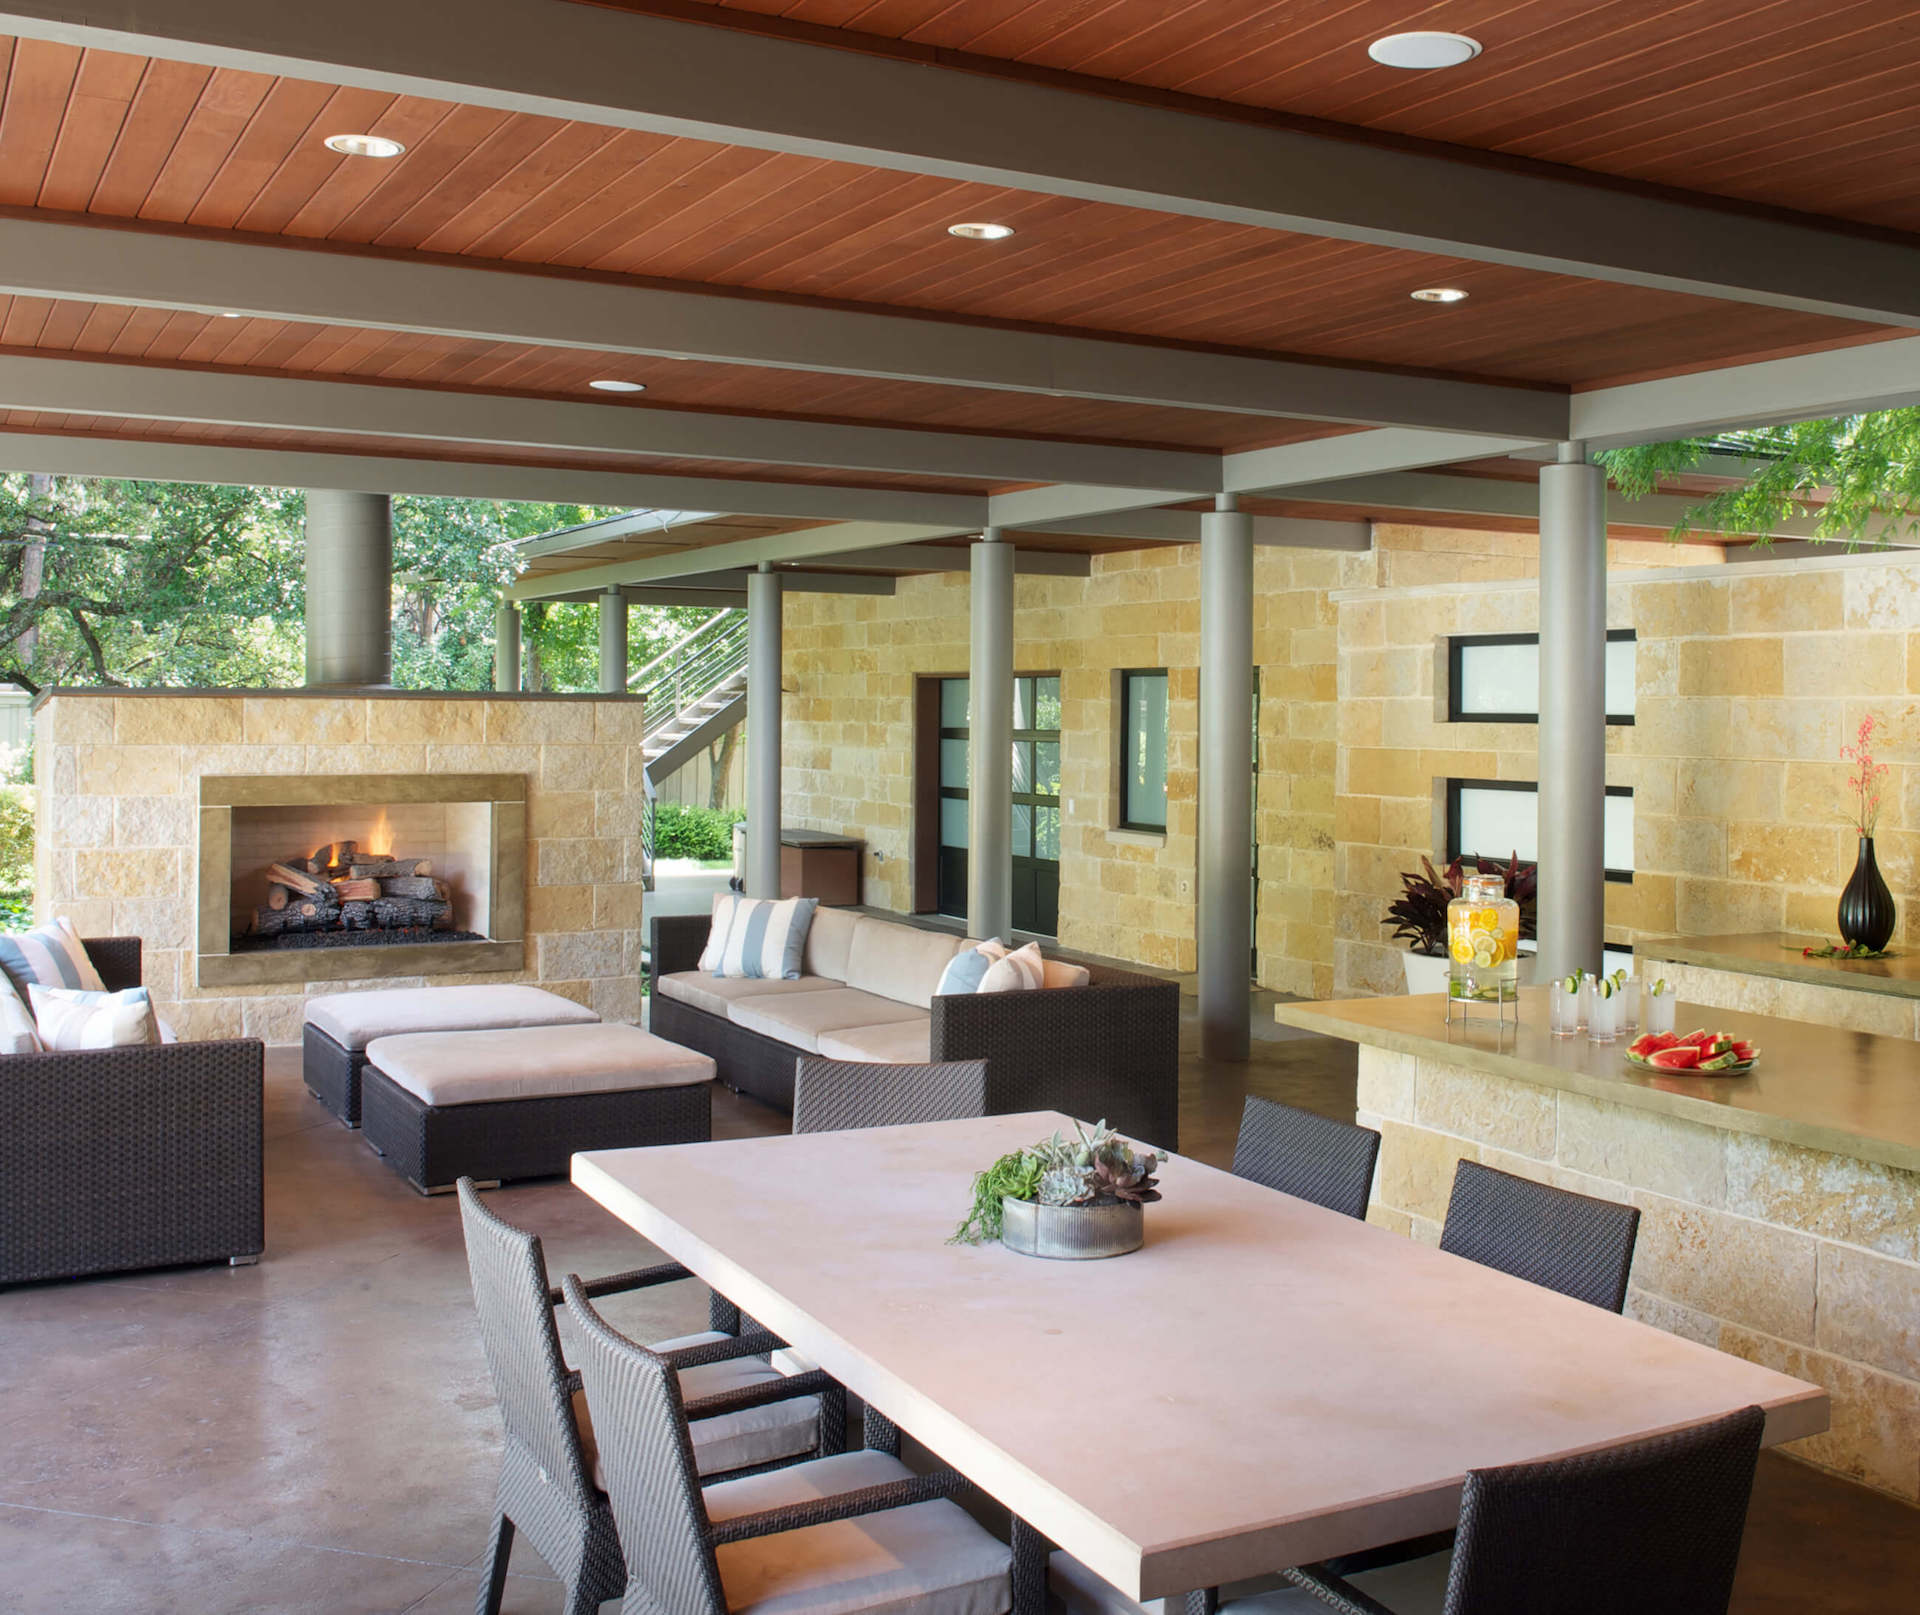
- Surrounding area features (deck, arbor, gardens, fireplace, play space, outdoor kitchen or dining area, etc.)
View our design portfolio for inspiration.
2. Meet With Our Landscape Designers
Once you’re ready to plan your pool, contact us to set an appointment to talk with our designers. They’ll review your wish list and help determine what pool type is best for your particular space. From a raised edge pool or standard in-ground pool, Olympic diving pool or small plunge pool, all-tile pool or concrete pool, the pool design options are endless. Our designers will guide you through the many variations and take into account your aesthetic style, material preferences, property size, budget, and functional needs. Each pool design is custom crafted to your personality and needs. Plus, not only do we design the pool, but we also determine how it will interact with your entire outdoor space.
3. The Pool Design Process
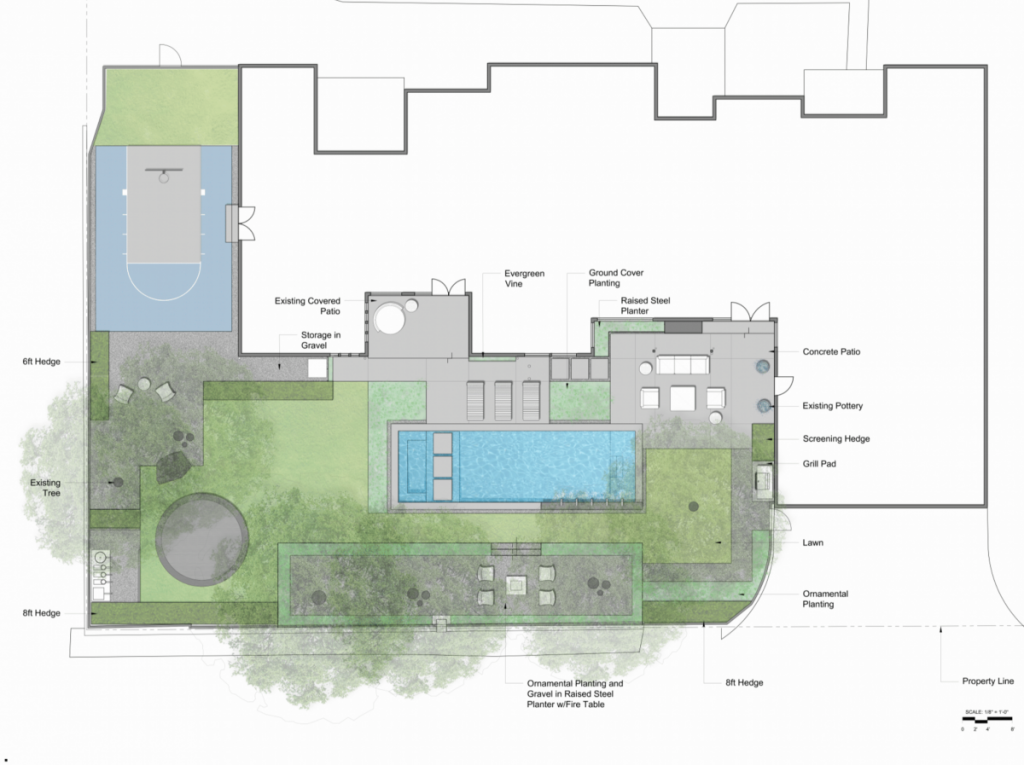
Next, our talented team of landscape architects, designers, and engineers begin the design process for the pool and the rest of the surrounding pool landscape.
This can include:
- Developing a material palette
- Determining the budget (based on type of construction, engineering needs, materials, etc.)
- Creating the overall landscape plan (patio, walkways, planting, and other amenities)
4. Pool Construction
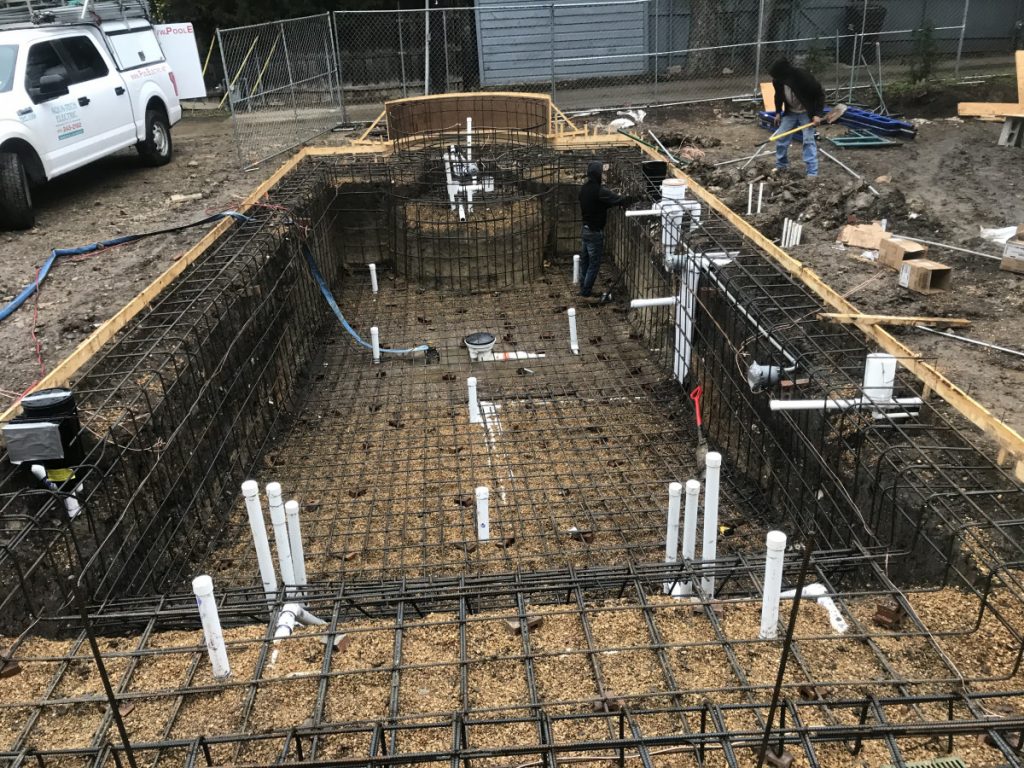
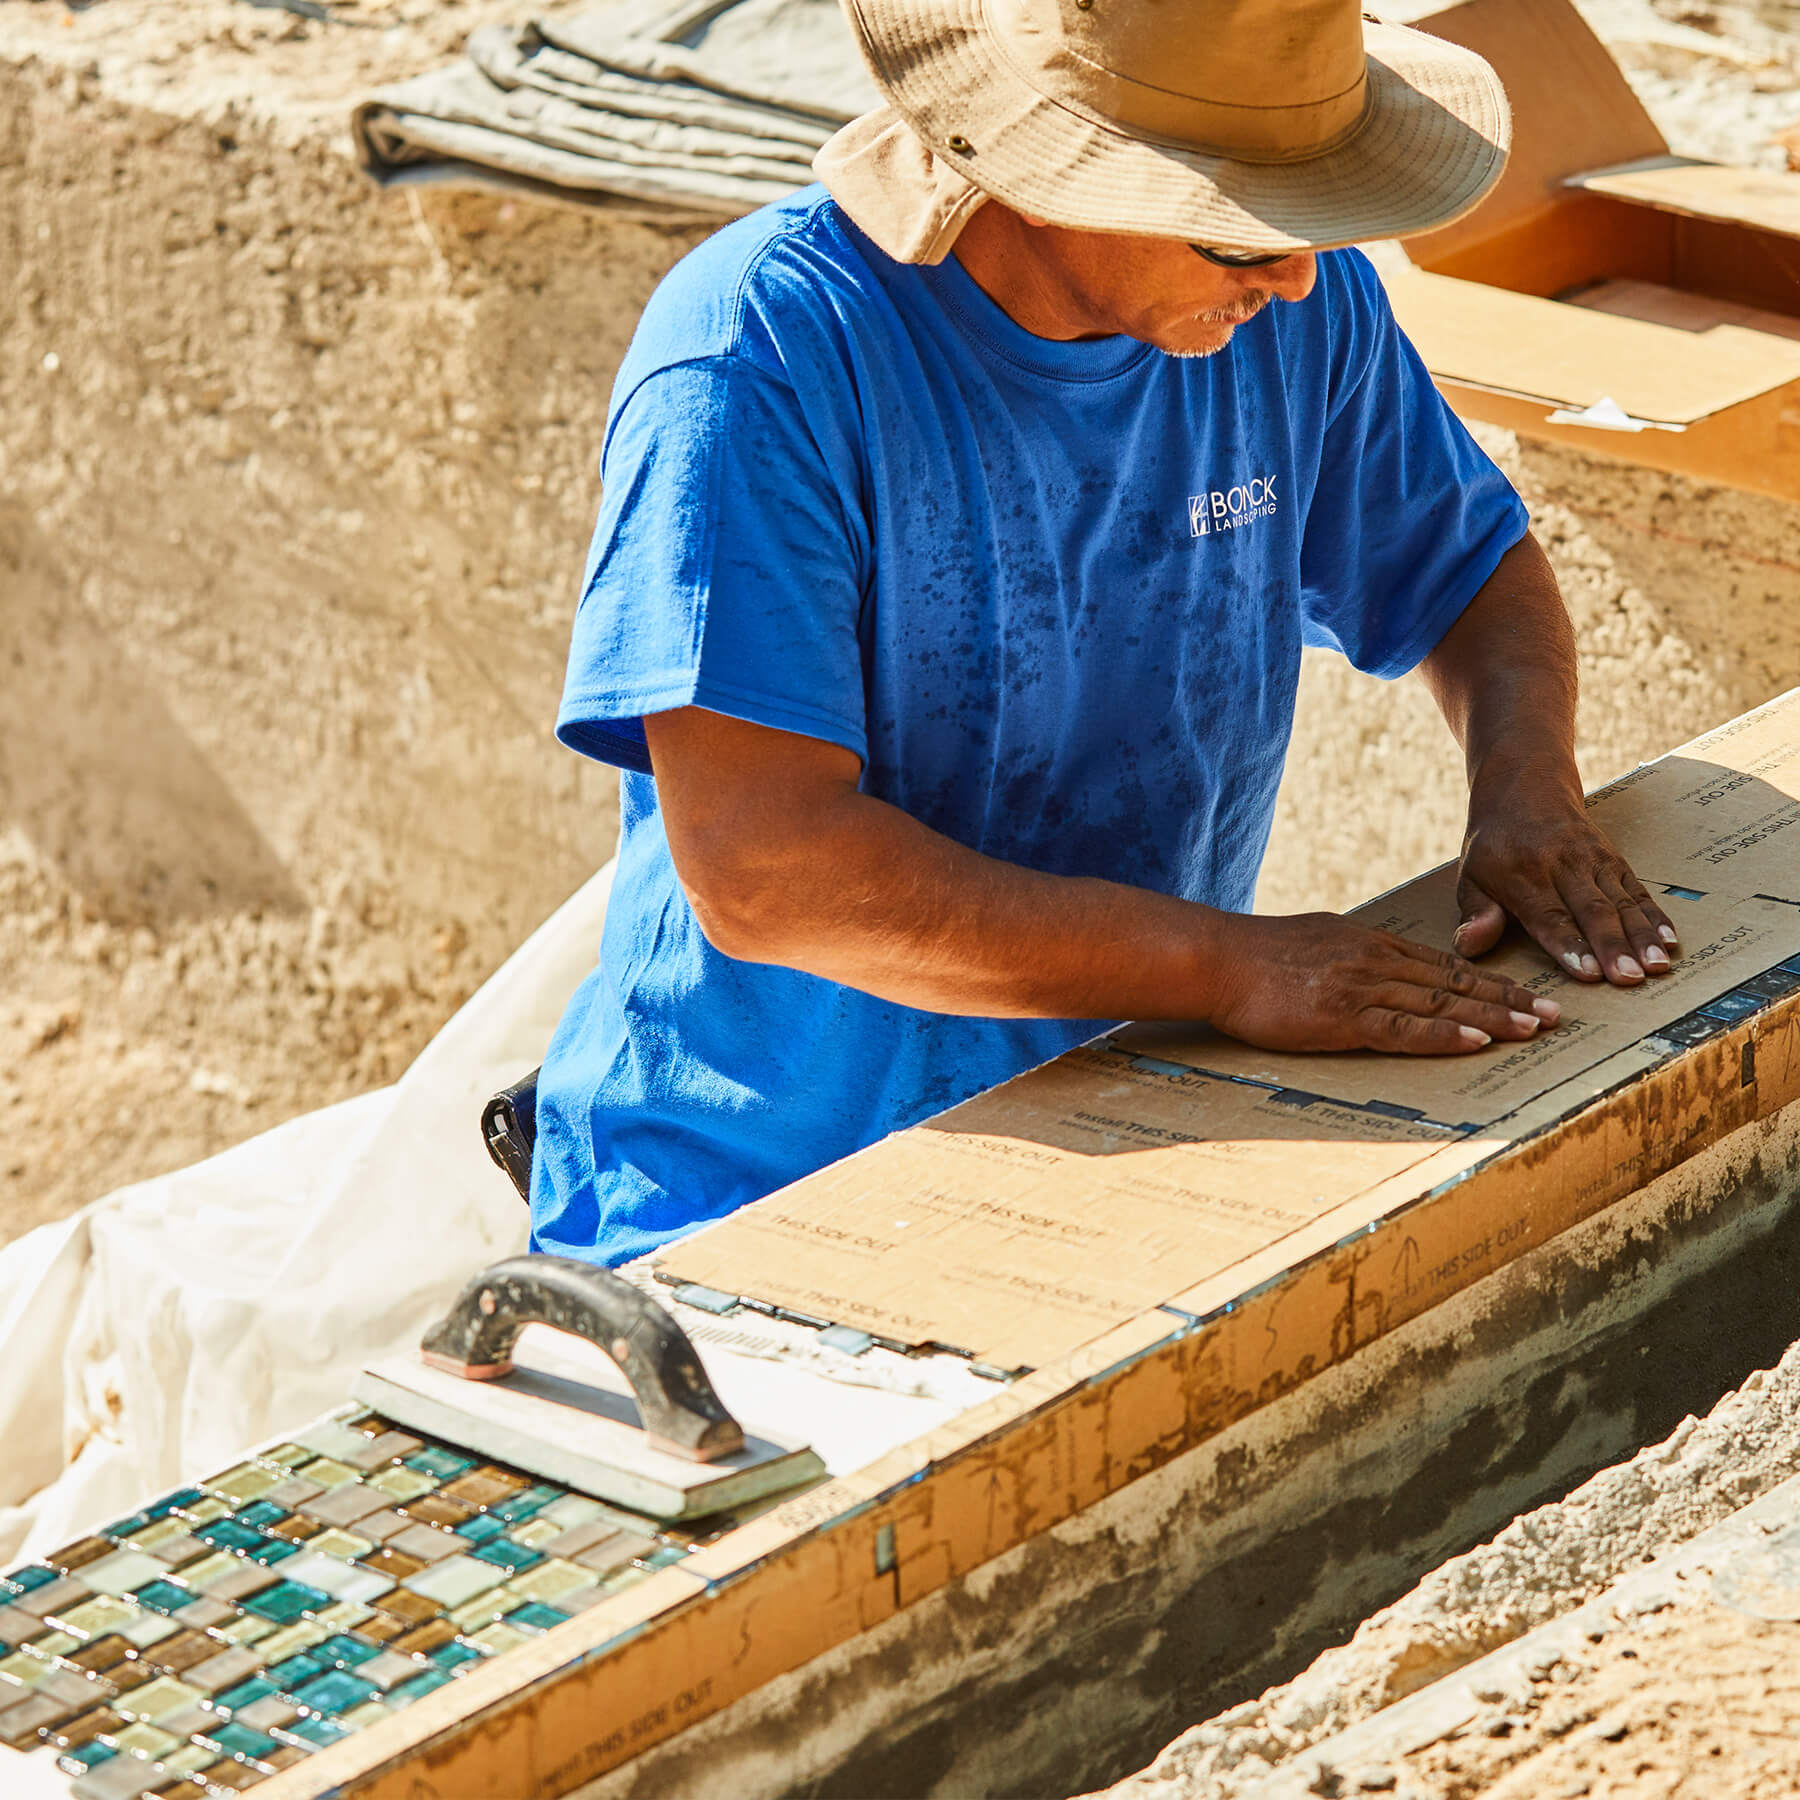
From the initial site dig through systems installation, our team of expert craftsmen, builders, engineers, and installers will create your perfect space.
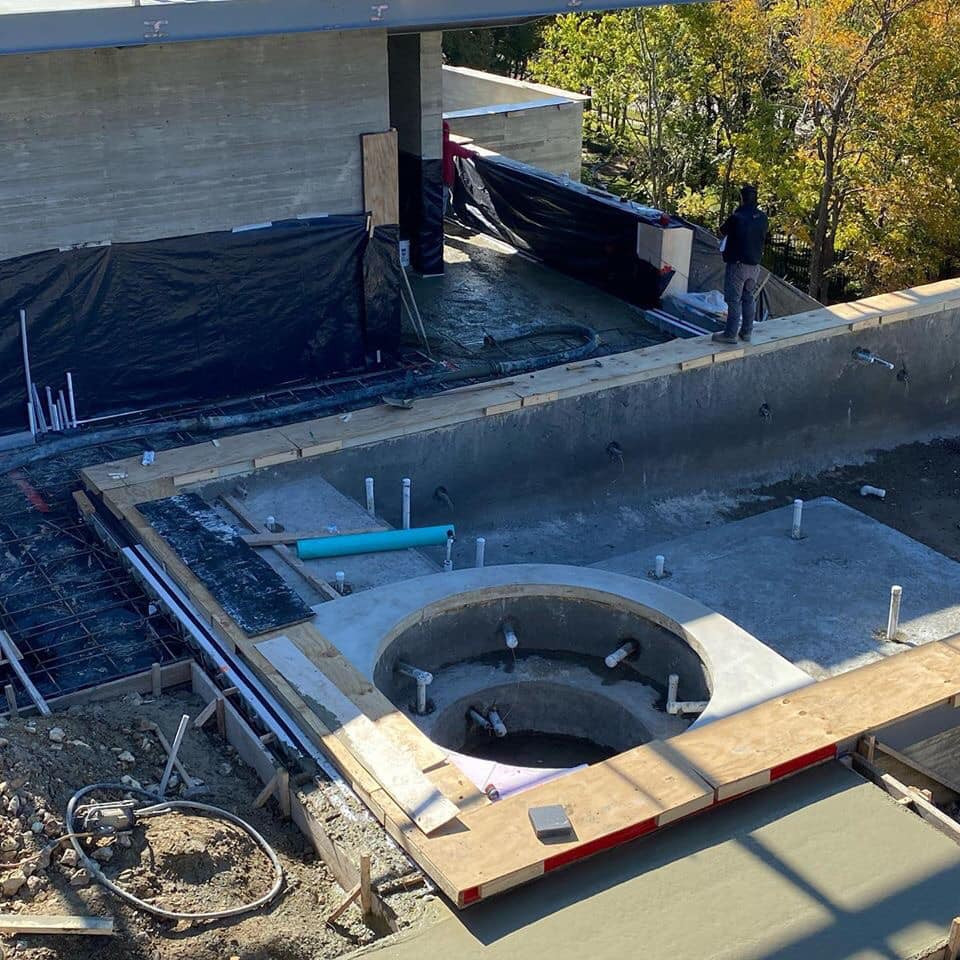
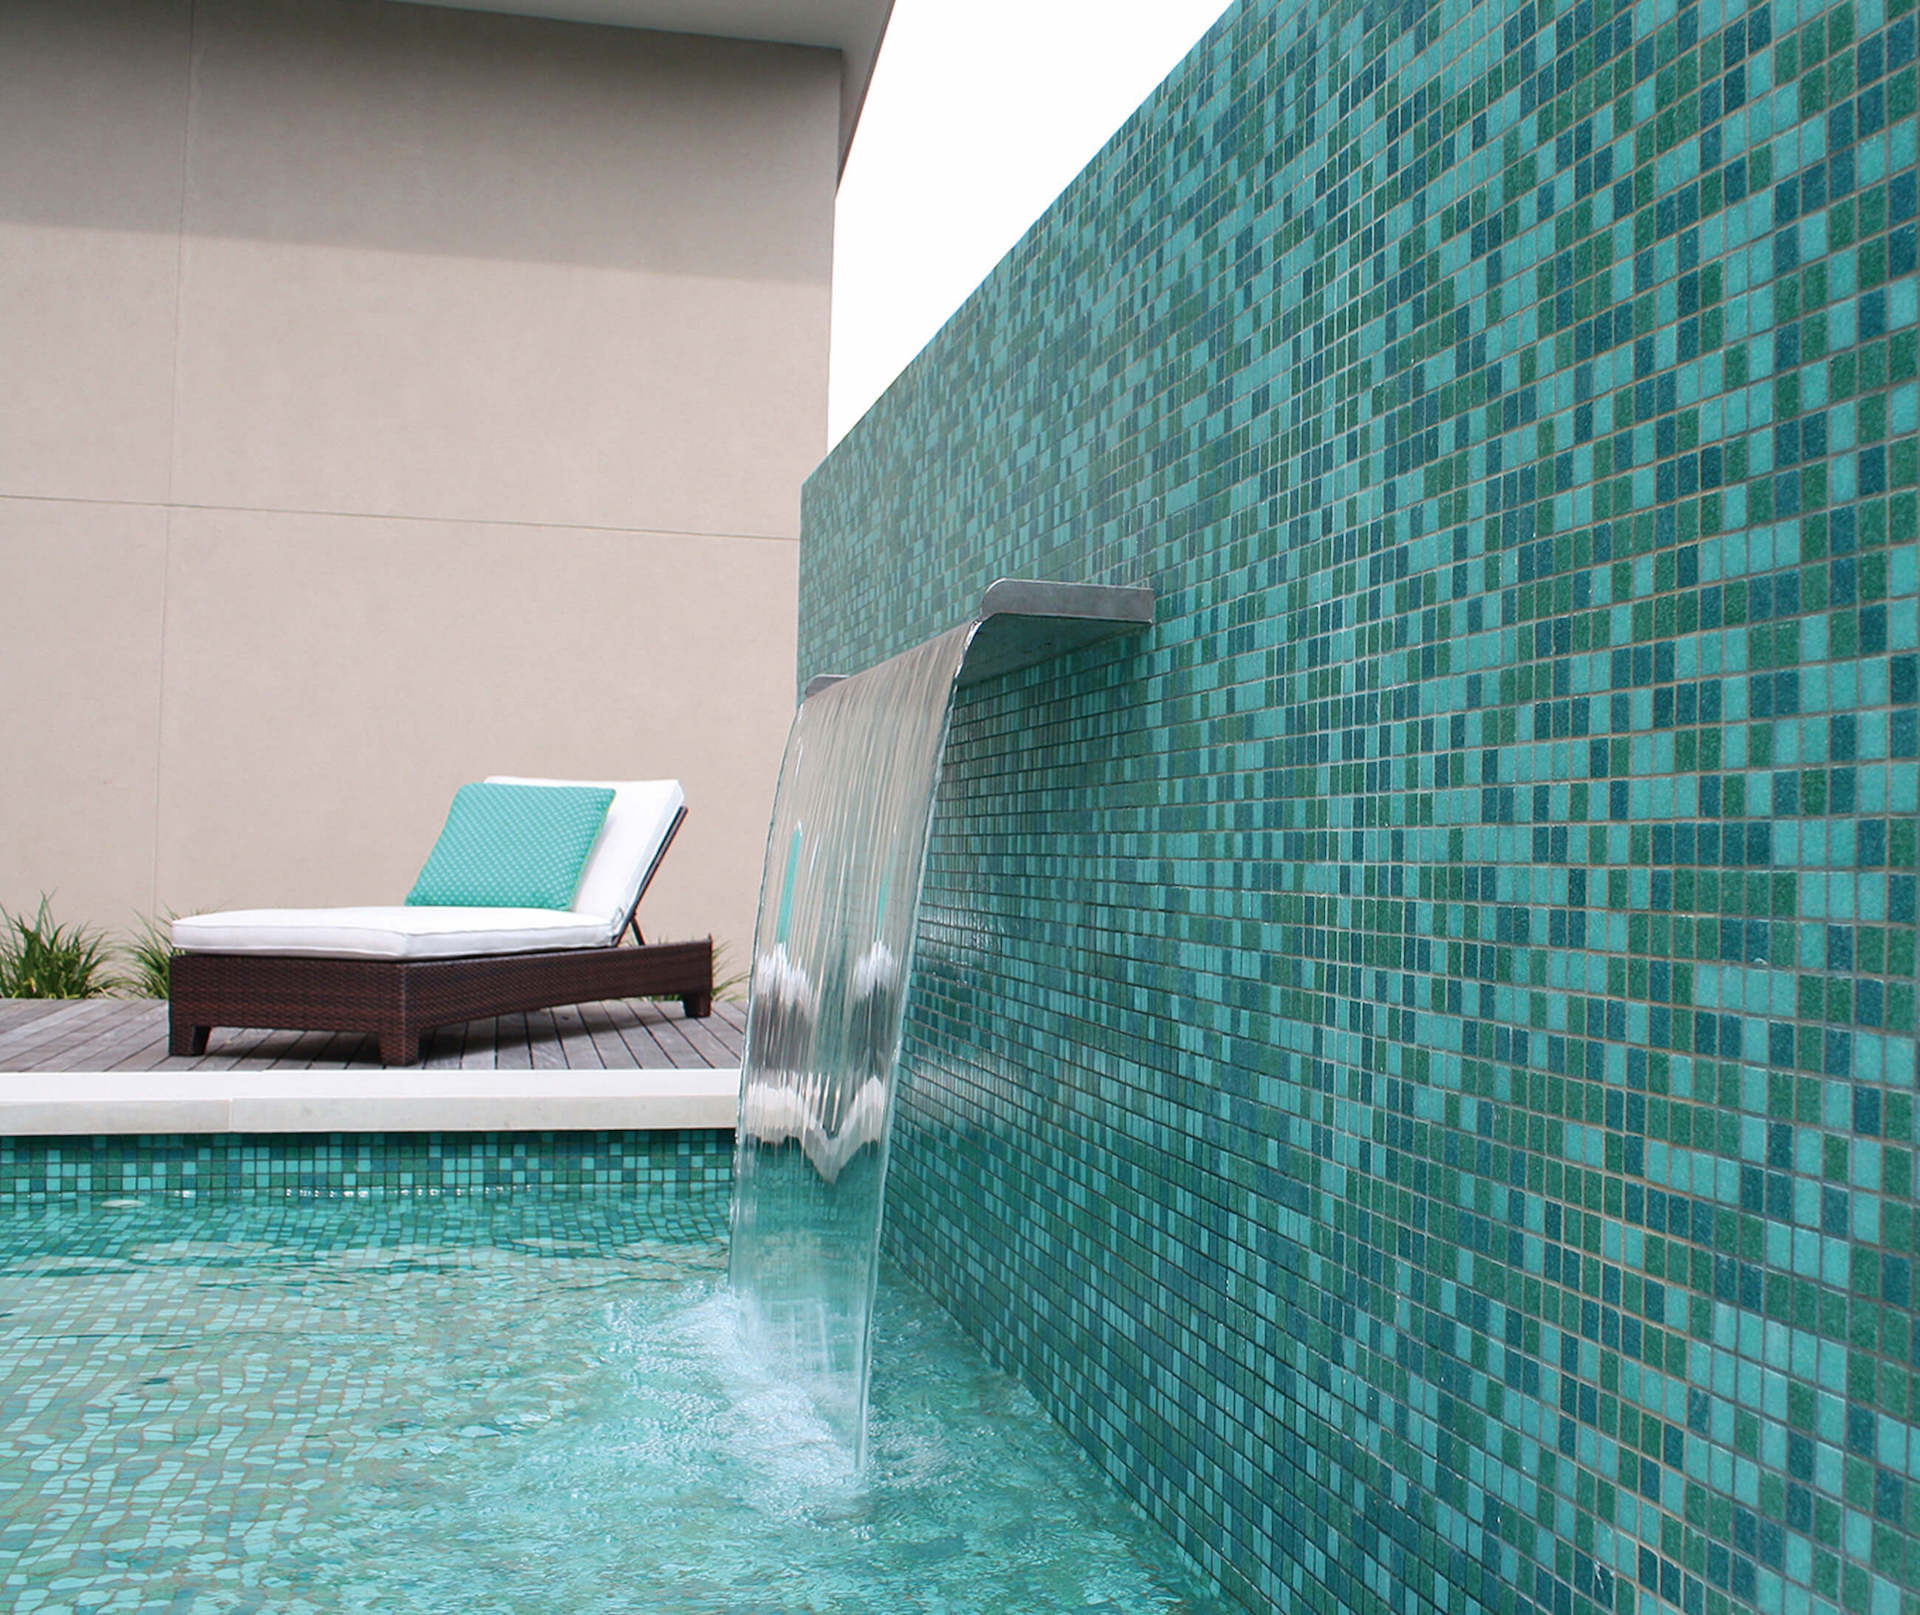
They begin with excavation, steel plumbing, and shotcrete to create a sturdy shell. Then, the pool’s waterline is constructed. This is like a “necklace” for your pool. This can be simple and elegant, incorporate ornate mosaic tile, or create a statement with a pop of color or pattern.
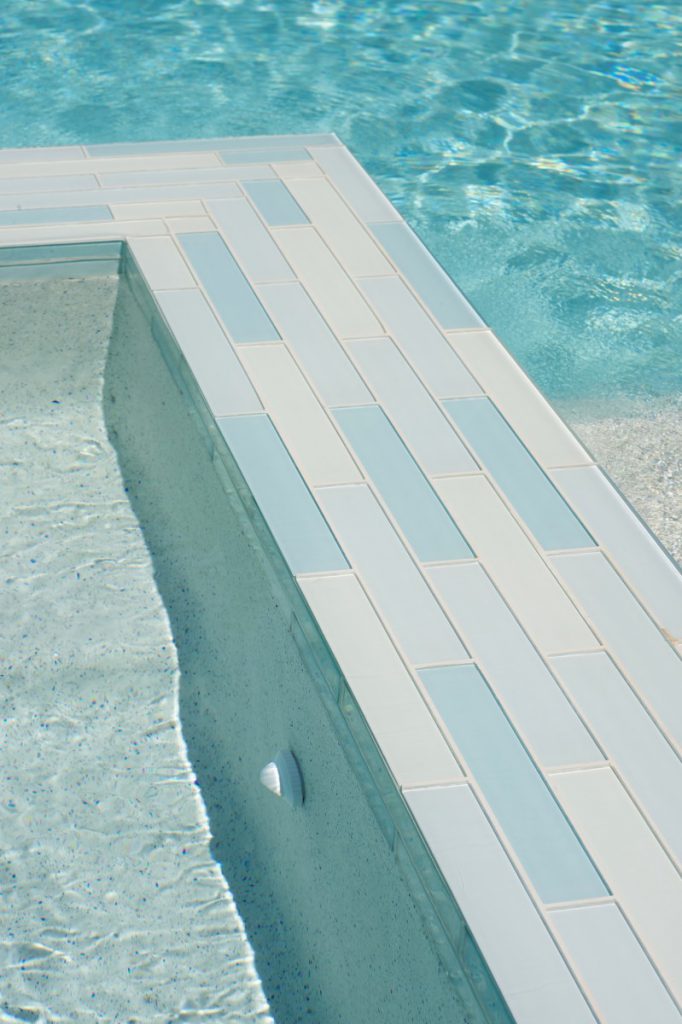
Next, we install the pool coping. Coping is essentially the edge of the pool and provides your pool’s unique character by the material selected. Stone, concrete, porcelain, travertine, and many other choices are available to seamlessly match your patio or provide a different contrasting hardscape.
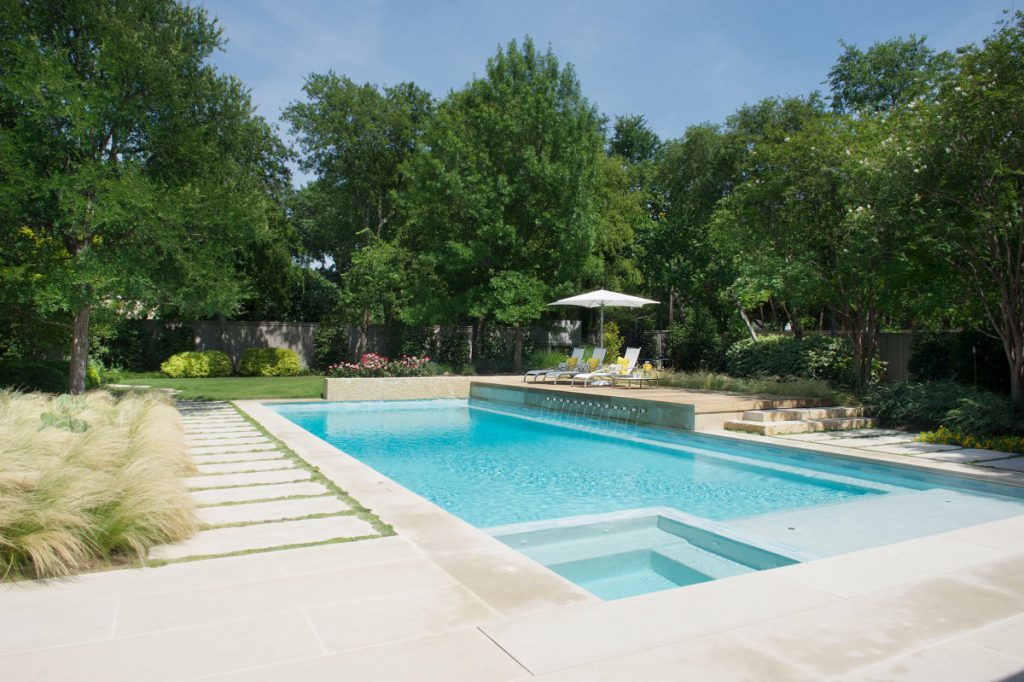
Once the pool is constructed, our team moves to the outlying landscape. (It’s important to get all the dirty work done before we put water into the pool.) After the landscape installation winds down, the pool equipment and electrical are installed.
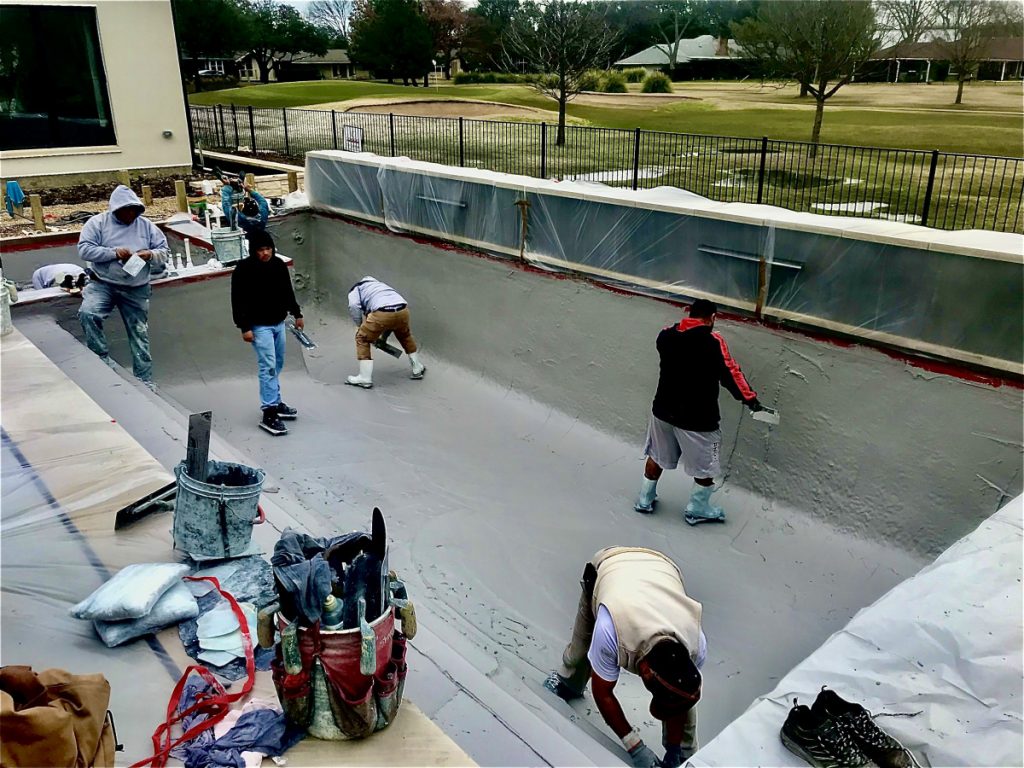
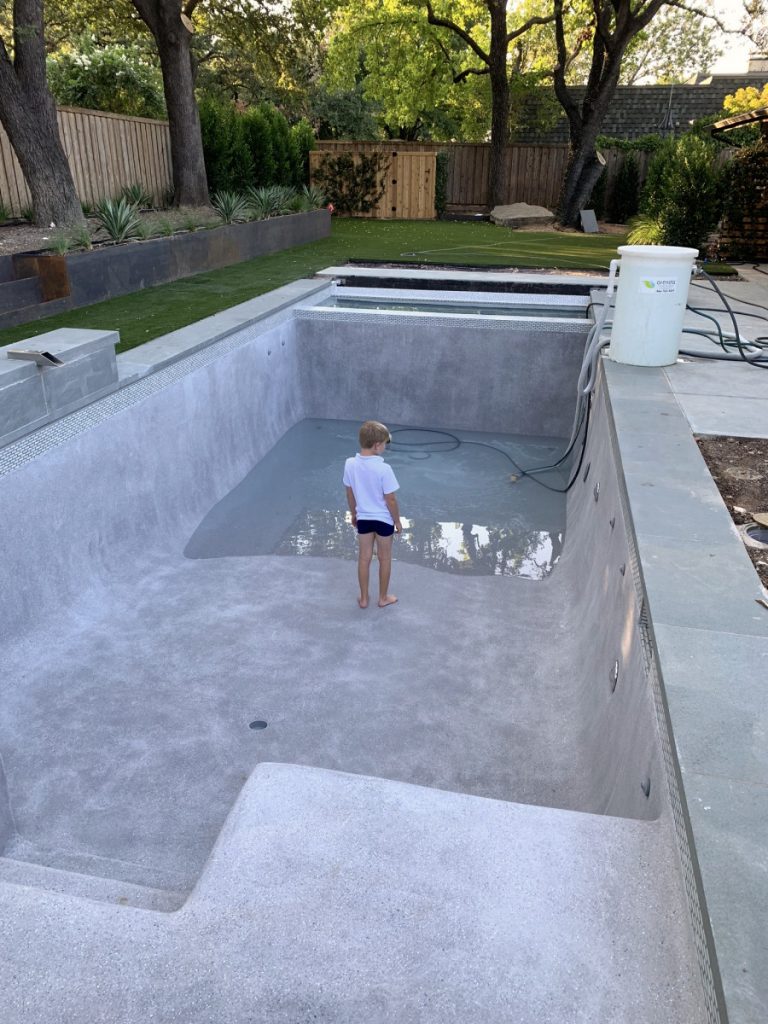
Finally, when the site is clean, the last step is to install the plaster. It’s important to note that even though your pool may seem ready to use, the plaster startup process takes several weeks to properly cure before you can swim! Have patience—this is a great time to start planning your pool party (6 feet apart, of course)!
5. Pool School
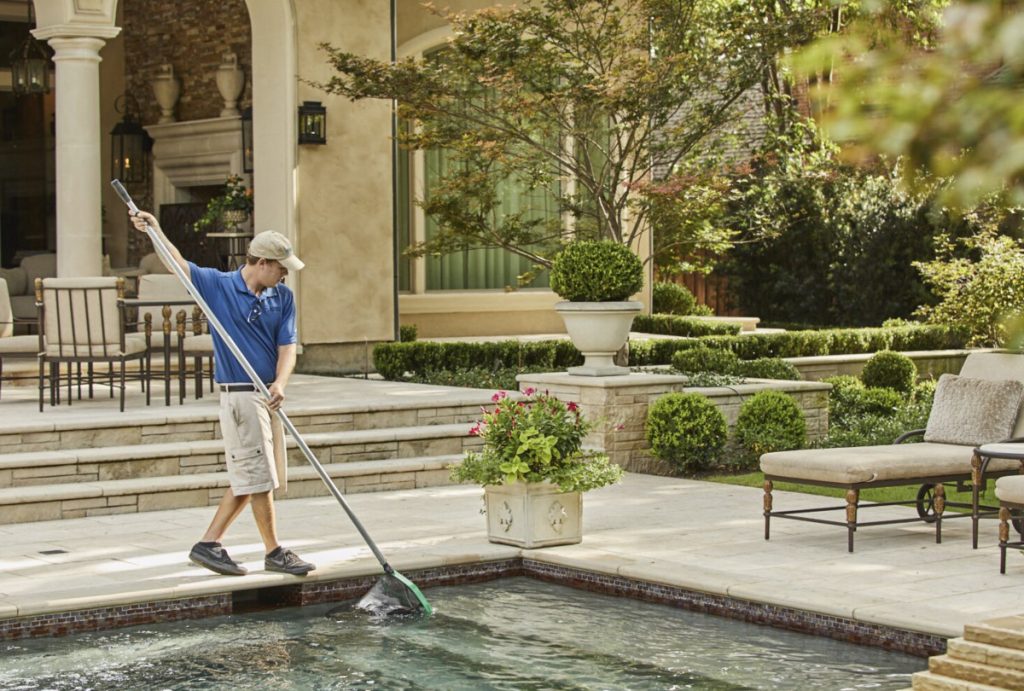
After your project is complete, it’s time for Pool School! Our Pool Manager will come to your home to demonstrate how your new equipment works and answer any questions you may have. And of course, just like our landscape maintenance, we’ll be there to maintain your new pool with our monthly pool cleaning and maintenance services.
So, are you ready to take the plunge? Contact us to begin planning your paradise.
by Tammy Vanderkolk
